


Hello everyone, Welcome to this blog where we will be discussing only a few git commands for a beginner to get started with. As beginners, we generally don't have to worry about maintaining large code bases, maintaining good commits, pushing quality code, etc. Of course, all these things are necessary but not needed at the moment.
As a beginner, you focus more on learning and putting stuff in your repository to revise later or just to build your own personal projects, Hence you just need to focus on a few commands to view, maintain and add to your code. Let's get started with the commands:
1. git config:
The first thing you should do after installing Git on your system is to configure your git username and email address. Git associates your identity with every commit you make.
Git allows you to set a global and per-project username and email address. You can set or change your git identity using the git config command. Changes only affect future commits. The name and email associated with the commits you made prior to the change are not affected.
git config --global user.name "User"
git config --global user.email "User@user.com"
You can view the existing configuration by the command:
git config --list
2. git init:
This command initialize a git repository to a folder, this is where the git actually starts tracking your changes and your code
git init

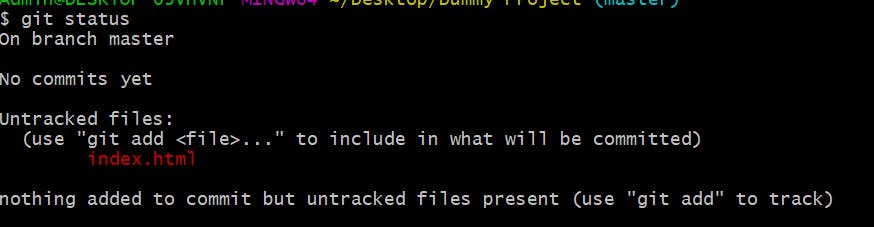
3. git status:
Prescribes the current status of your repository, what changes are uncommitted, how much is committed, and so on
git status
4. git clone:
git clone is primarily used to point to an existing repo and make a clone or copy of that repo at in a new directory, at another location. The original repository can be located on the local filesystem or on remote machine-accessible supported protocols. The git clone command copies an existing Git repository.
git clone [repository_url]
5. git add:
As the name suggests, it adds your changes to the staging area, you can individually add files with
git add [file_name] or all the files at once with git add .
git add .
git add [file_name]

6. git commit:
The git commit command captures a snapshot of the project's currently staged changes. Committed snapshots can be thought of as “safe” versions of a project—Git will never change them unless you explicitly ask it to. Prior to the execution of git commit, The git add command is used to promote or 'stage' changes to the project that will be stored in a commit.
You can also specify -m flag to also write a commit message.
git commit -m "Fixed some bugs"

7. git branch:
If you are working on a feature and you are not sure to push it to the main code, then you can create a separate branch and work on it. If it gets going, you can merge the branch to the main code.
git branch -d [branch_name]

8. git merge:
Git merge will combine multiple sequences of commits into one unified history. In the most frequent use cases, git merge is used to combine two branches.
git merge [branch_name]
9. git push:
Again as the name suggests, it pushes your committed code to your GitHub/GitLab, etc. remote repository. Mainly you can use git push -u origin [main_branch_name]. -u is a flag for pushing u stands for upstream.
If you are having trouble pushing the code, you can also try git push -f origin [main_branch_name] .
git push -u origin [branch_name]
10. git log:
The git log command shows the order of the commit history for a repository. The command helps in understanding the state of the current branch by showing the commits that lead to this state. Basically, it's like a history of all the commits done to the repository.
